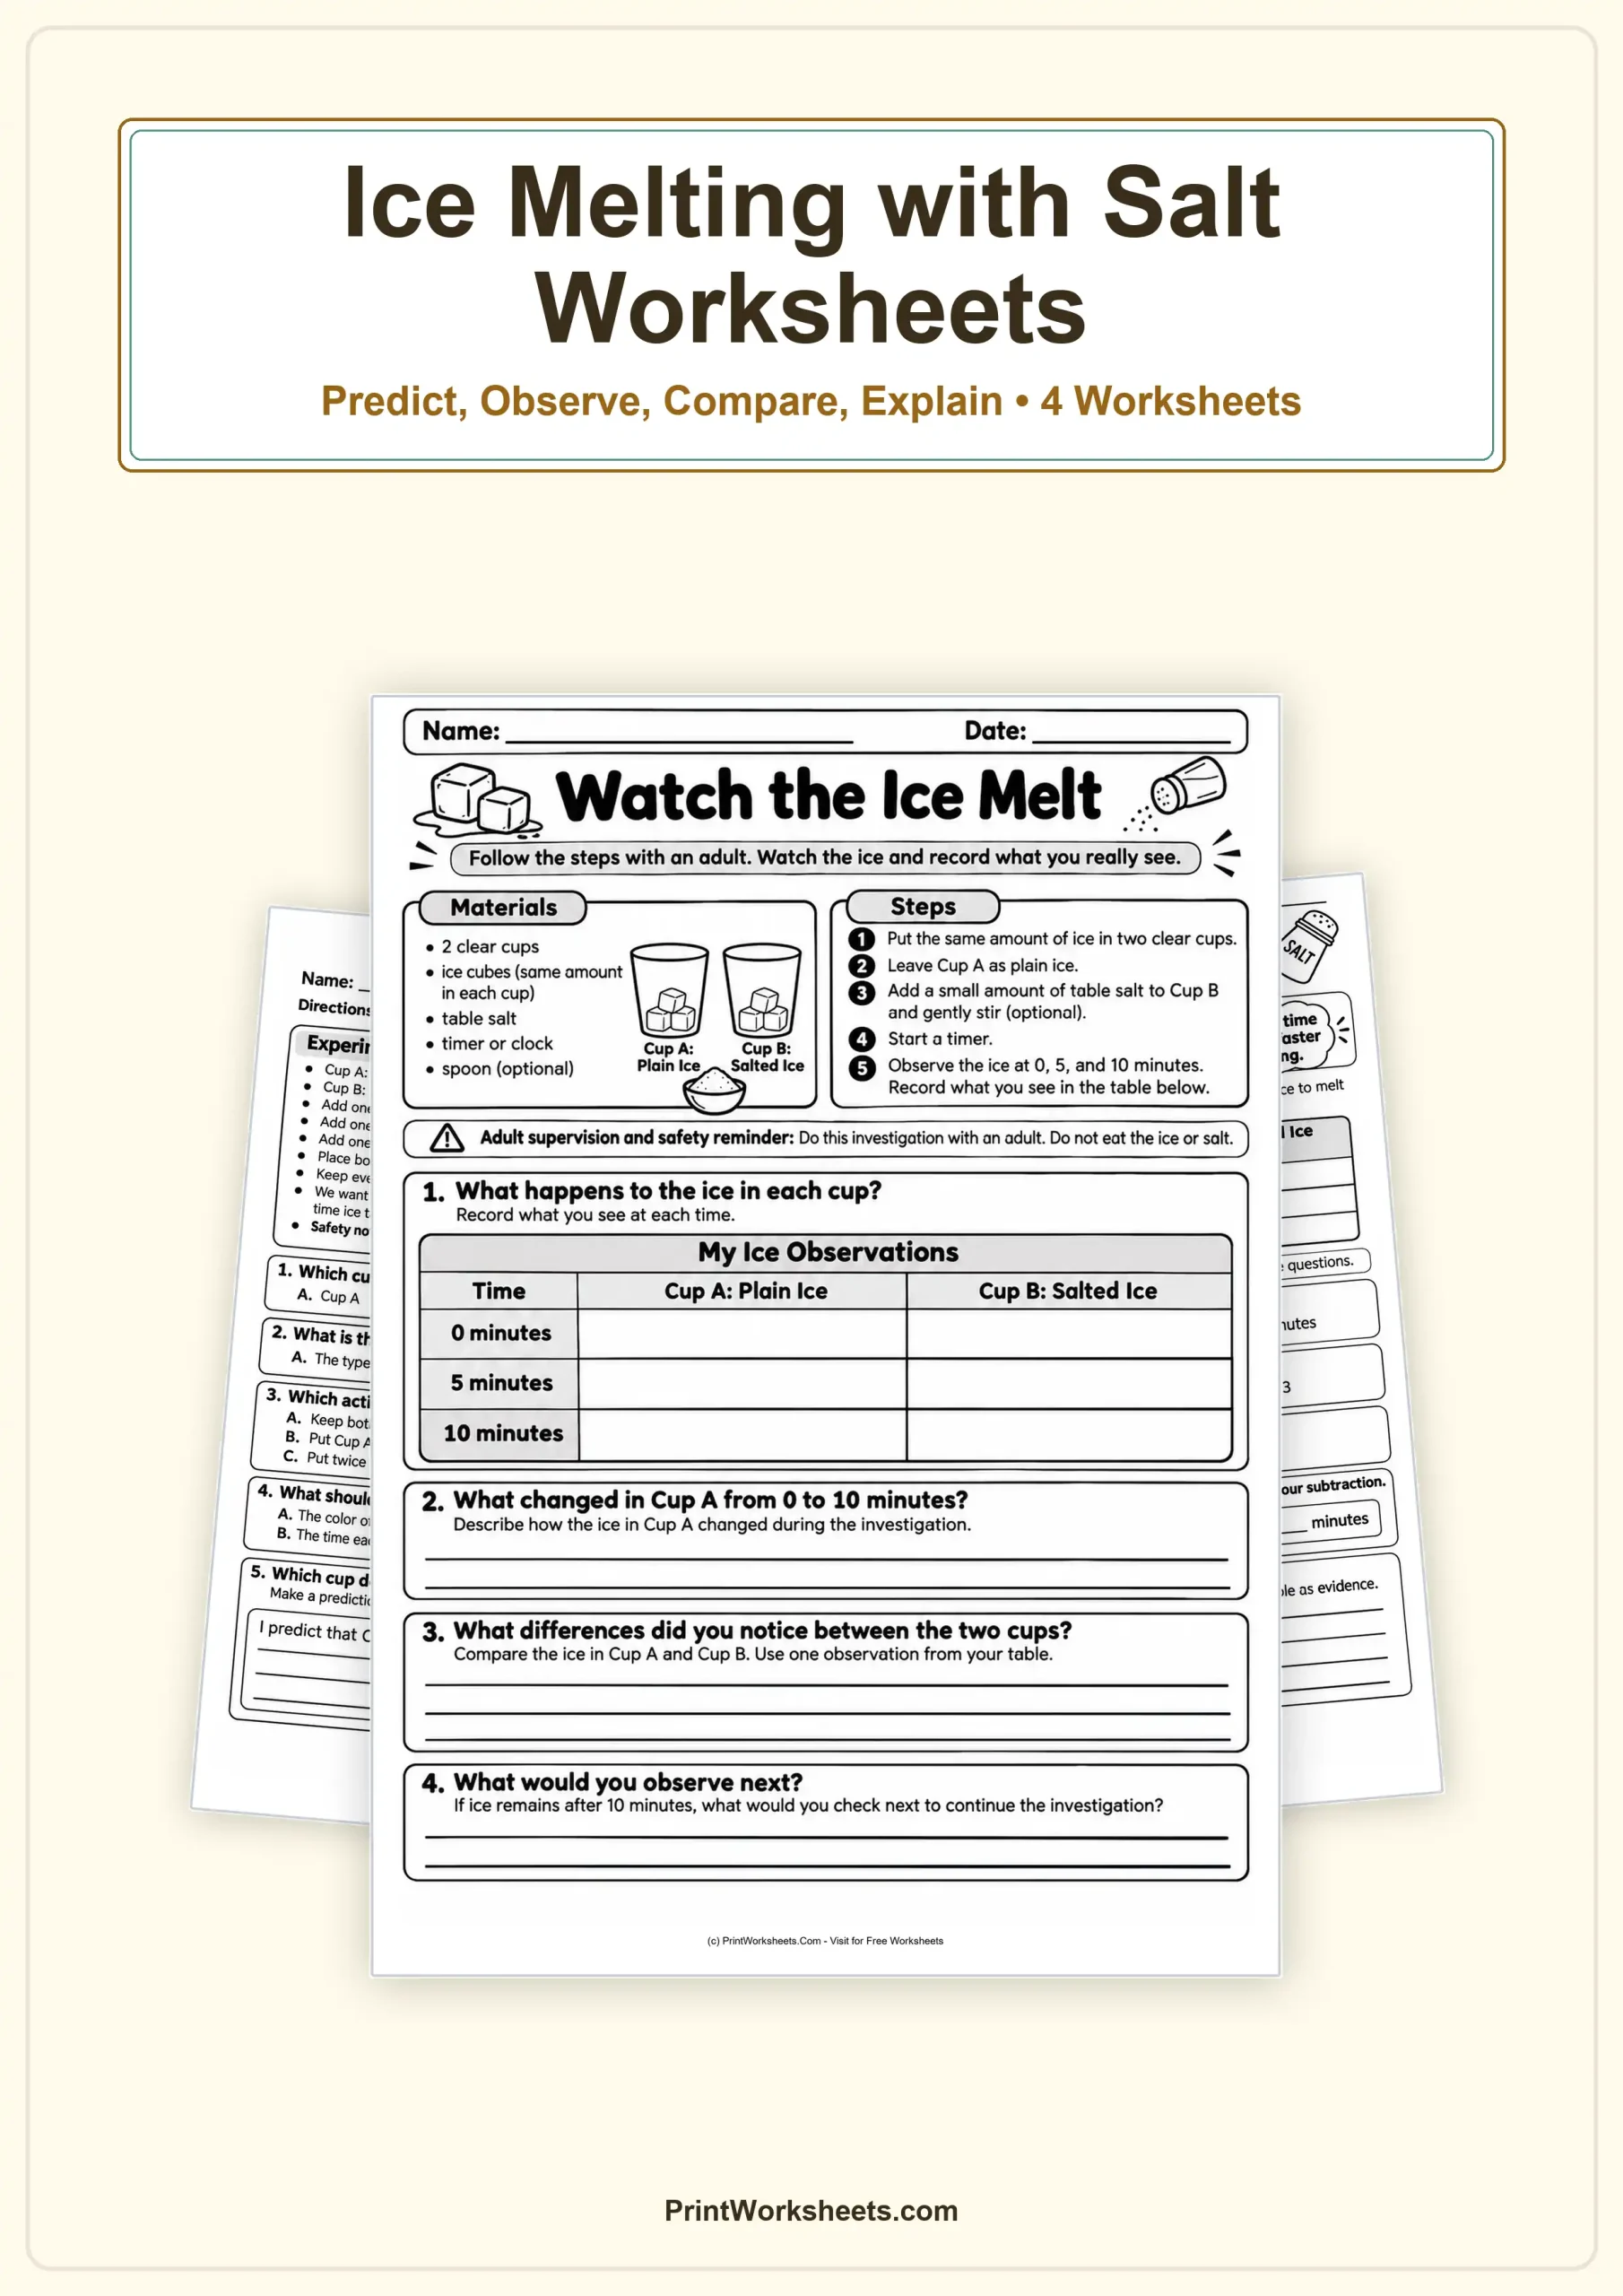
A fair science investigation begins by changing one condition and carefully watching what happens. These ice melting with salt worksheets help students explore that process by comparing plain ice with ice that has table salt added. The printable activities combine experiment planning, hands-on observations, numerical data, and a short science reading about freezing points. Designed for elementary learners, the set develops practical investigation skills alongside reading, reasoning, and measurement.
Ice Melting with Salt Worksheets: Explore the Investigation
The activities follow a connected scientific investigation rather than treating every question as an unrelated exercise. Students first decide how to create a fair comparison. They then record observations, interpret classroom data, and connect their findings to an explanation of why salt can affect melting ice.
Plan a Fair Ice Test
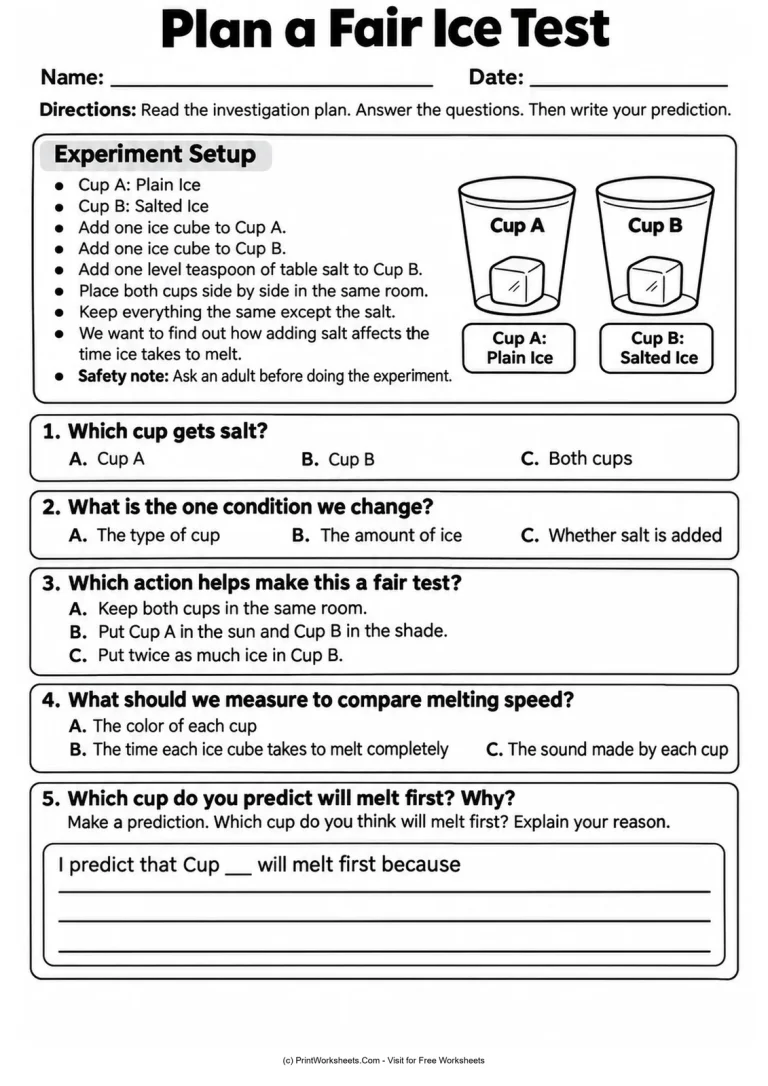
The investigation begins with Cup A containing plain ice and Cup B containing ice with salt. The planning example specifies one ice cube in each cup and one level teaspoon of table salt added to Cup B. Both cups remain in the same room so that the presence of salt is the condition being tested.
Students answer multiple-choice questions about which cup receives salt, which condition changes, what makes the comparison fair, and which measurement can show melting speed. They finish by predicting which cup will melt first and explaining their reasoning. This opening activity introduces the difference between making a prediction and collecting evidence.
Watch the Ice Melt and Record Observations
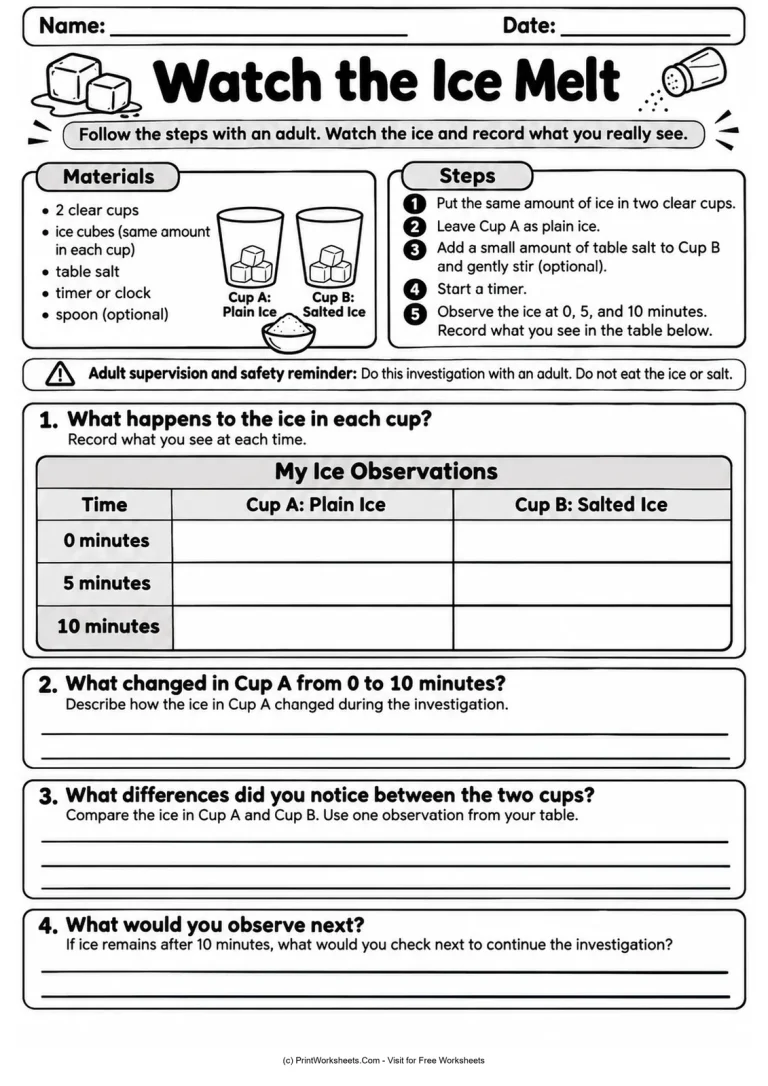
The hands-on investigation asks students to use two clear cups, equal amounts of ice, table salt, and a timer or clock. With adult supervision, they observe plain ice and salted ice at 0, 5, and 10 minutes. An observation table provides separate spaces for both cups at each time point.
After recording what they actually see, students describe changes in Cup A, compare the cups using evidence from their table, and explain what they would observe next if ice remains after 10 minutes. The emphasis is on accurate observations rather than guessing the expected outcome.
Compare Melting Times Using Classroom Data
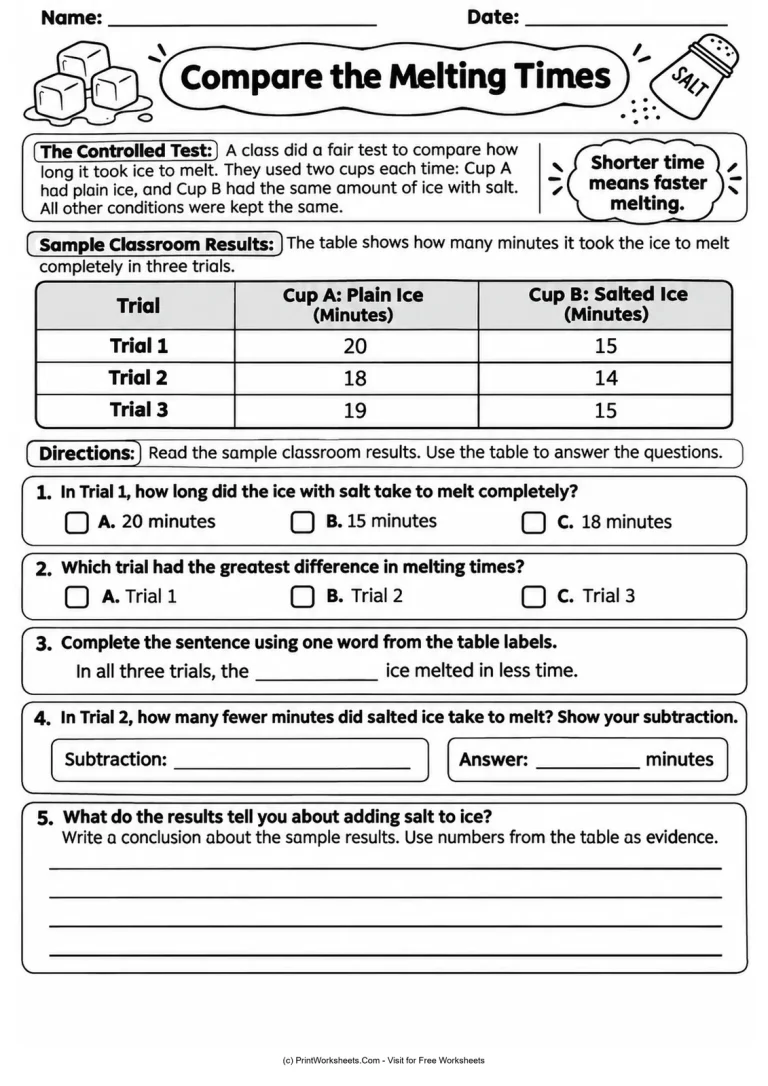
Students next examine sample results from three controlled trials. In Trial 1, plain ice takes 20 minutes to melt completely, compared with 15 minutes for salted ice. Trial 2 reports 18 minutes for plain ice and 14 minutes for salted ice. Trial 3 records 19 minutes and 15 minutes, respectively.
The questions require students to read the table, identify the trial with the greatest difference, determine which ice melted in less time, and calculate the four-minute difference in Trial 2. A written conclusion asks them to support their interpretation with numerical evidence. These sample measurements provide useful practice even when students cannot complete the physical experiment.
Explain the Science Behind the Results
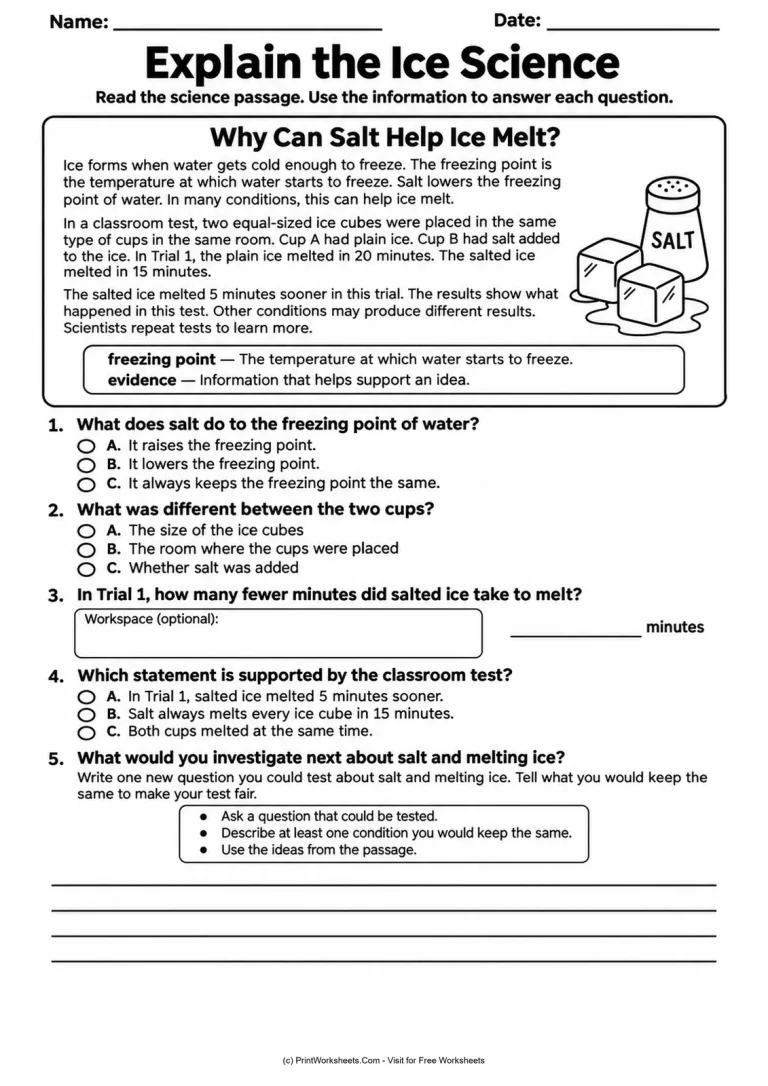
The final activity connects the investigation to a short informational passage explaining that salt lowers the freezing point of water. Students review the first trial, identify the changed condition, calculate the five-minute difference, and select a statement supported by the evidence.
They also propose a new testable question about salt and melting ice and describe a condition they would keep the same. This final response encourages students to think beyond the original comparison and design another fair investigation.
How to Conduct a Fair Ice Melting Experiment
For a classroom demonstration or supervised home activity, prepare two similar clear cups and equal amounts of ice. Leave one cup without salt and add a measured amount of table salt to the other. Place both cups together in the same room and begin timing at the same moment.
Keep the ice amount, container type, location, and observation schedule consistent. Avoid stirring only one cup because that introduces another difference between the conditions. Have students record the appearance of the ice at the specified intervals without replacing their observations with expected answers. If the goal is to measure complete melting time, continue checking beyond 10 minutes when necessary.
Understanding the Melting Results
The sample classroom results show salted ice melting sooner in each recorded trial. However, these numbers are examples for data interpretation, not guaranteed outcomes for every experiment. Actual melting times depend on factors such as room temperature, ice size, salt quantity, and the way the materials are handled.
Salt lowers the freezing point of water, which helps explain its effects on ice. The investigation gives students an opportunity to distinguish this scientific idea from the observations of one particular test. Encourage them to support conclusions with the measurements they collected rather than assuming that every setup will produce identical results.
Teaching Ideas for Grades 3 and 4
For Grade 3, focus on identifying what changes, making predictions, describing visible differences, and reading the sample results. Students can discuss their observations with a partner before writing complete sentences. The observation table also supports practice with time intervals and descriptive language.
For Grade 4, extend the investigation by asking students to calculate the differences in every trial, compare repeated results, and explain why keeping conditions consistent matters. They can propose a follow-up investigation testing different measured amounts of salt while keeping the ice quantity and environment the same.
The printable set works as a small-group science activity, a teacher-led demonstration, a physical science lesson, or an evidence-based reading and data exercise. It gives students several ways to practice the central scientific skill: making a claim that is supported by observations or measurements.
Continue Exploring with the Printable PDF
Use the full printable PDF set to guide students from an initial prediction to a measured comparison and a scientific explanation. Whether the activity takes place in a classroom or at home with an adult, students can practice planning a fair test, organizing results, and explaining what their evidence shows.