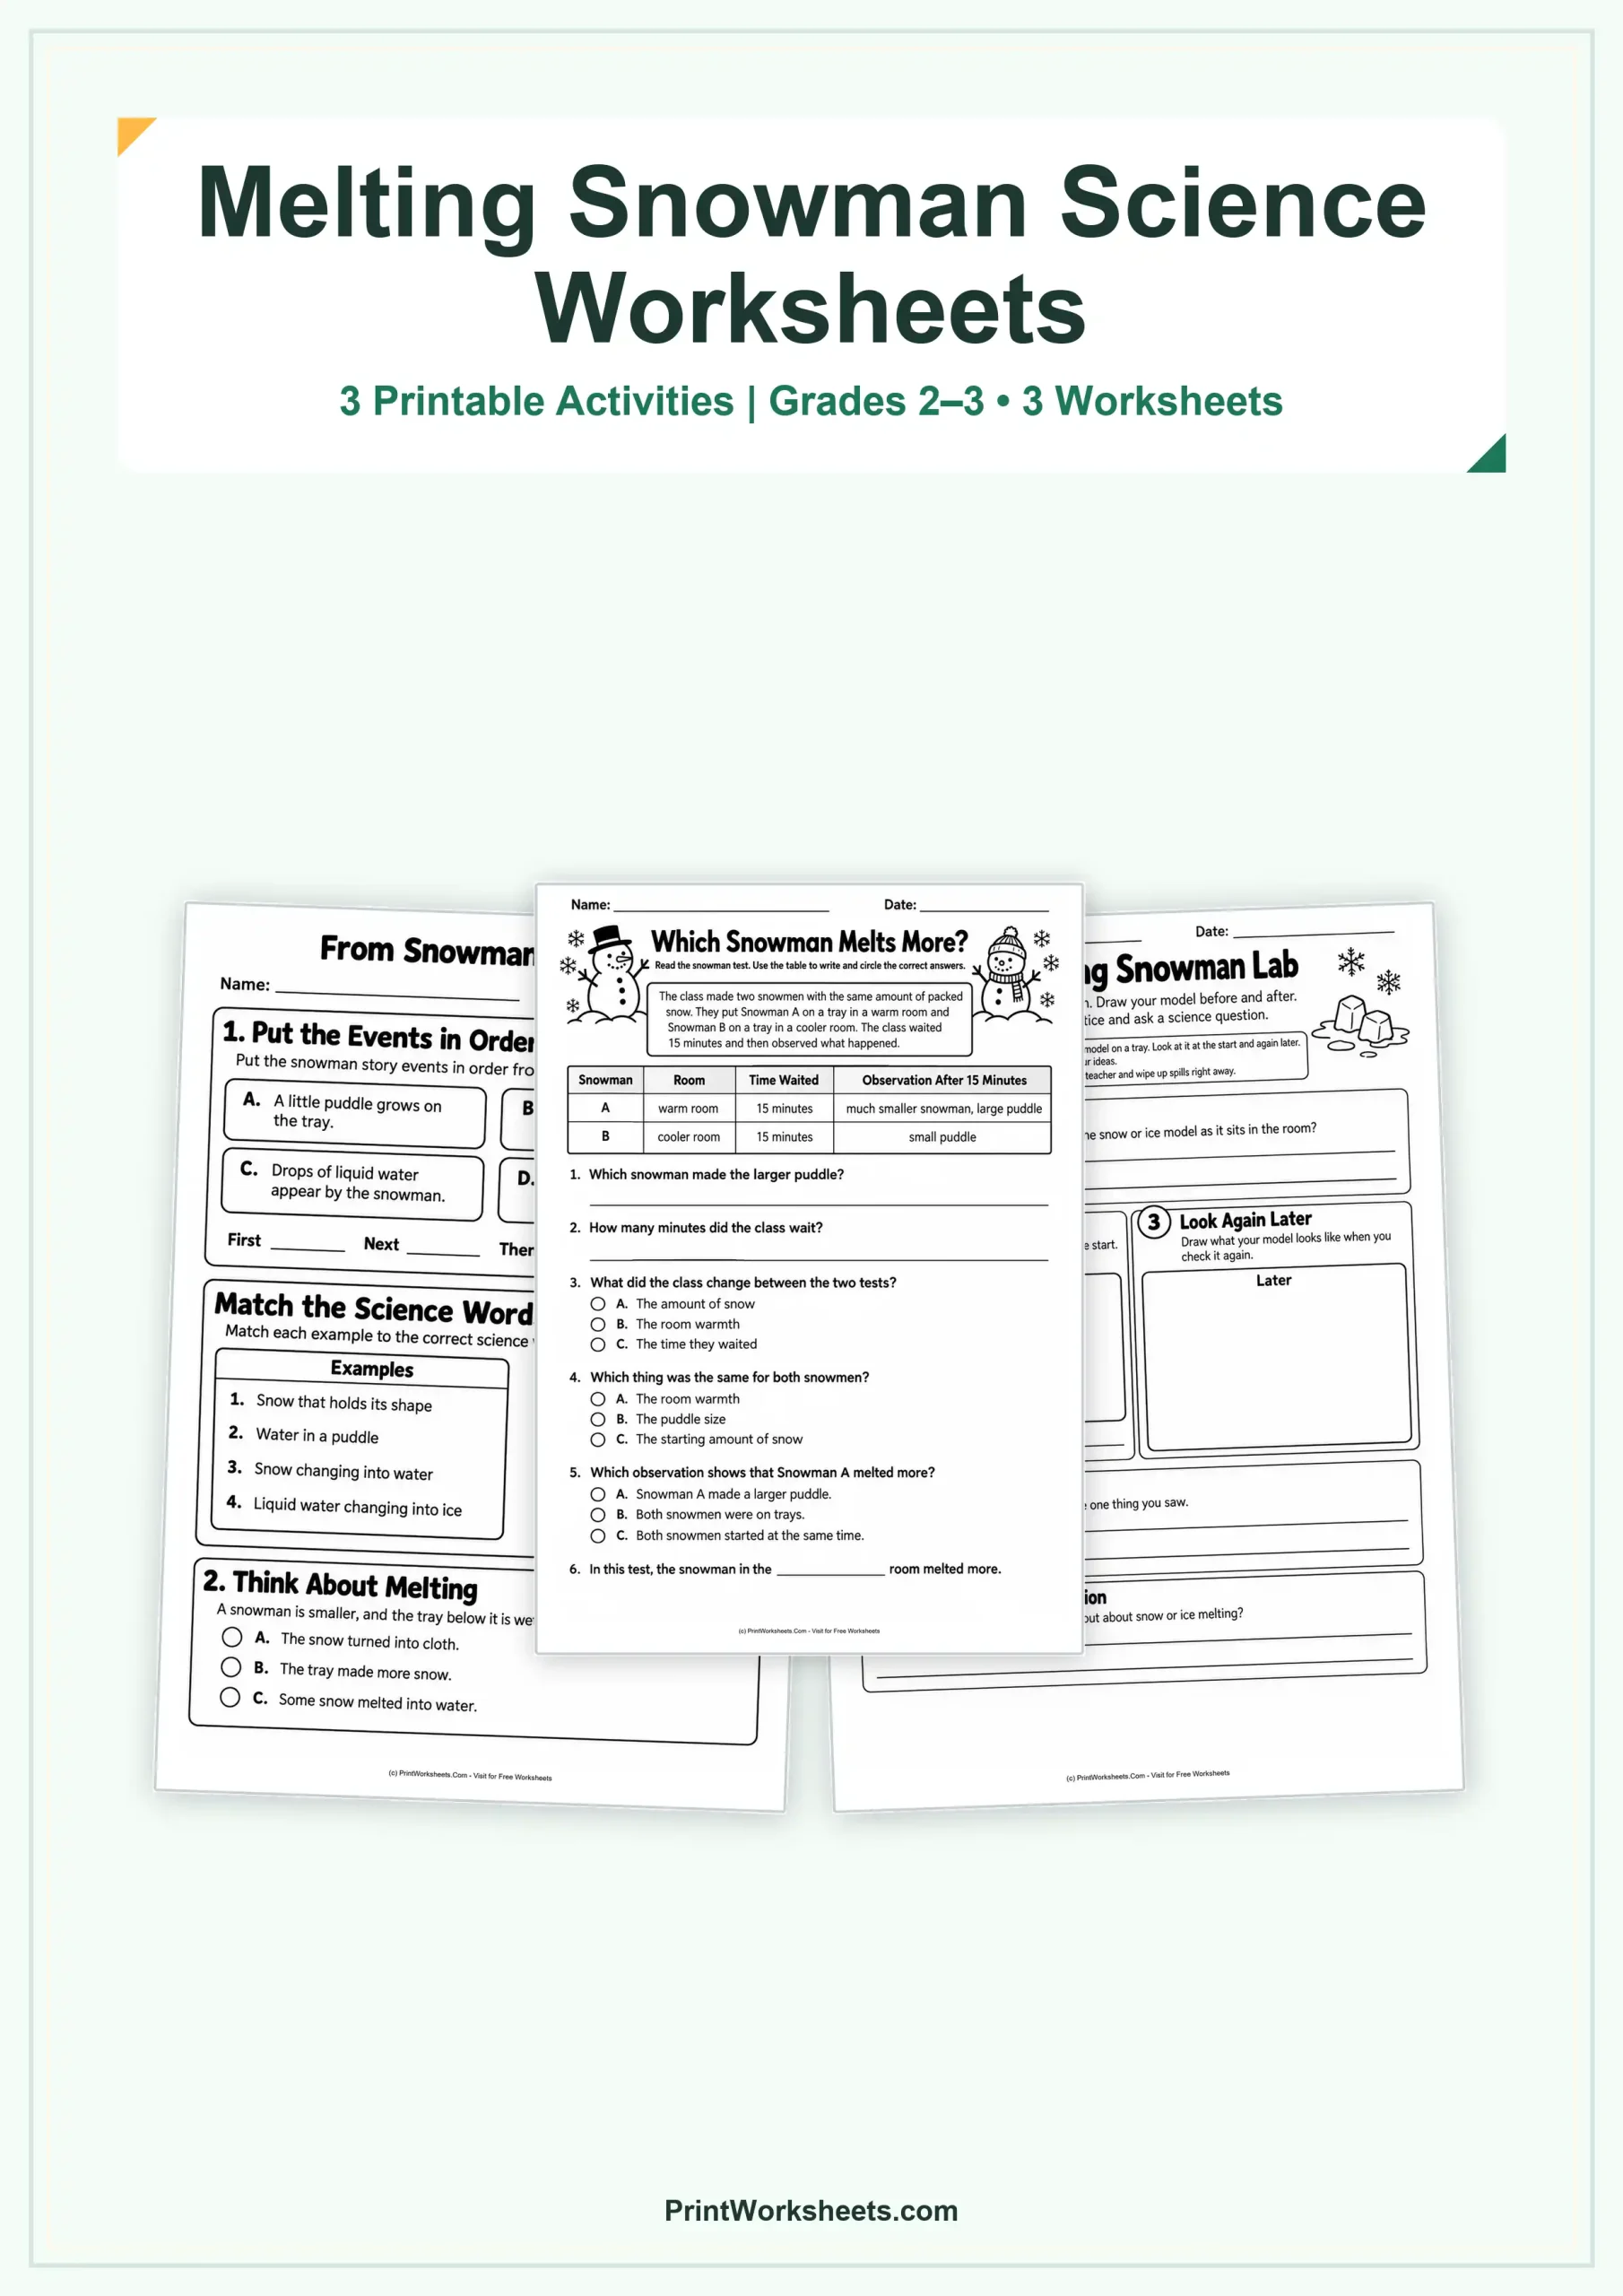
A snowman sitting on a tray in a warm room slowly changes shape. Drops of water appear, a puddle grows, and the solid snow becomes liquid water. These melting snowman science worksheets turn that simple winter observation into three connected science activities for second and third graders. Children explore the difference between solids and liquids, compare experimental results, and record their own observations using a snow or ice model. The pages combine reading, sequencing, vocabulary, scientific reasoning, and drawing in a black-and-white printable format.
Explore the Melting Snowman Science Worksheets
The three worksheets build understanding in a deliberate order. Students begin with a familiar snowman story, use evidence from a classroom comparison, and finish by investigating a model themselves. Each page focuses on a different scientific thinking skill.
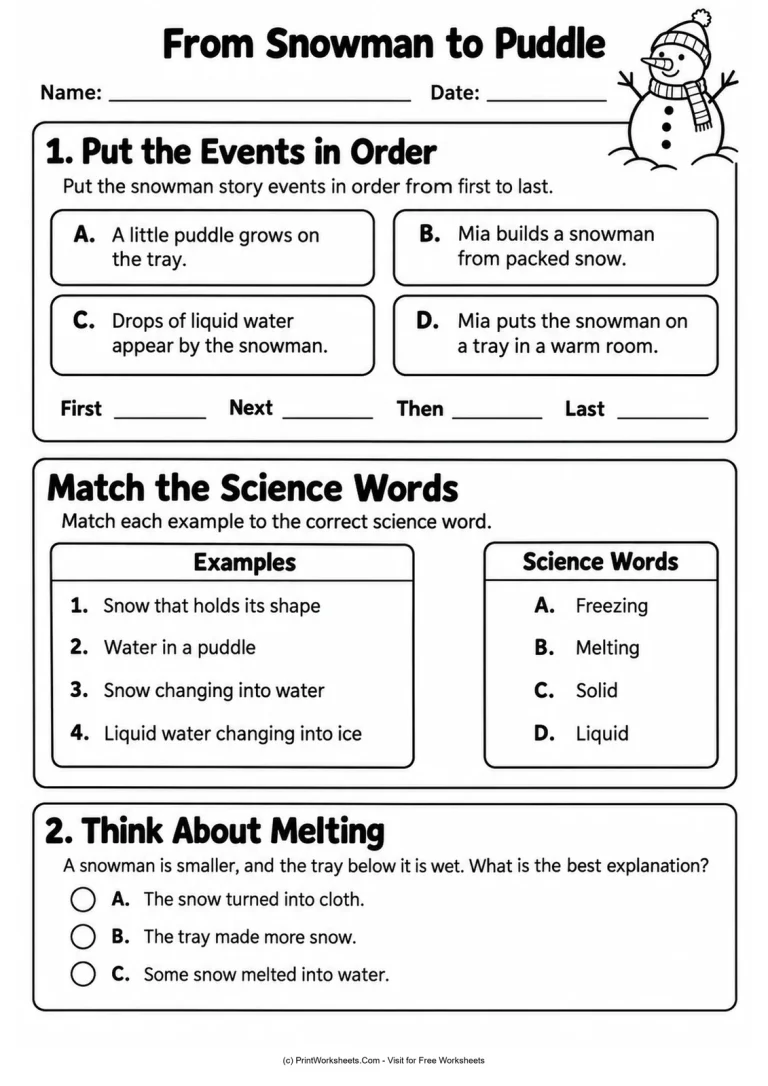
1. From Snowman to Puddle: Sequence the Changes
The first worksheet follows Mia as she builds a snowman from packed snow and places it on a tray in a warm room. Students receive four event cards and arrange their letters from first to last. They must recognize that the snowman is built before being moved indoors, liquid drops appear as melting begins, and a puddle grows afterward.
A vocabulary-matching activity introduces four important science words: solid, liquid, melting, and freezing. Examples include snow holding its shape, water in a puddle, snow changing into water, and liquid water turning into ice. A final multiple-choice question asks students to explain why a snowman becomes smaller while the tray grows wet. Together, these tasks connect an observable change to the scientific vocabulary that describes it.
2. Which Snowman Melts More? Compare the Evidence
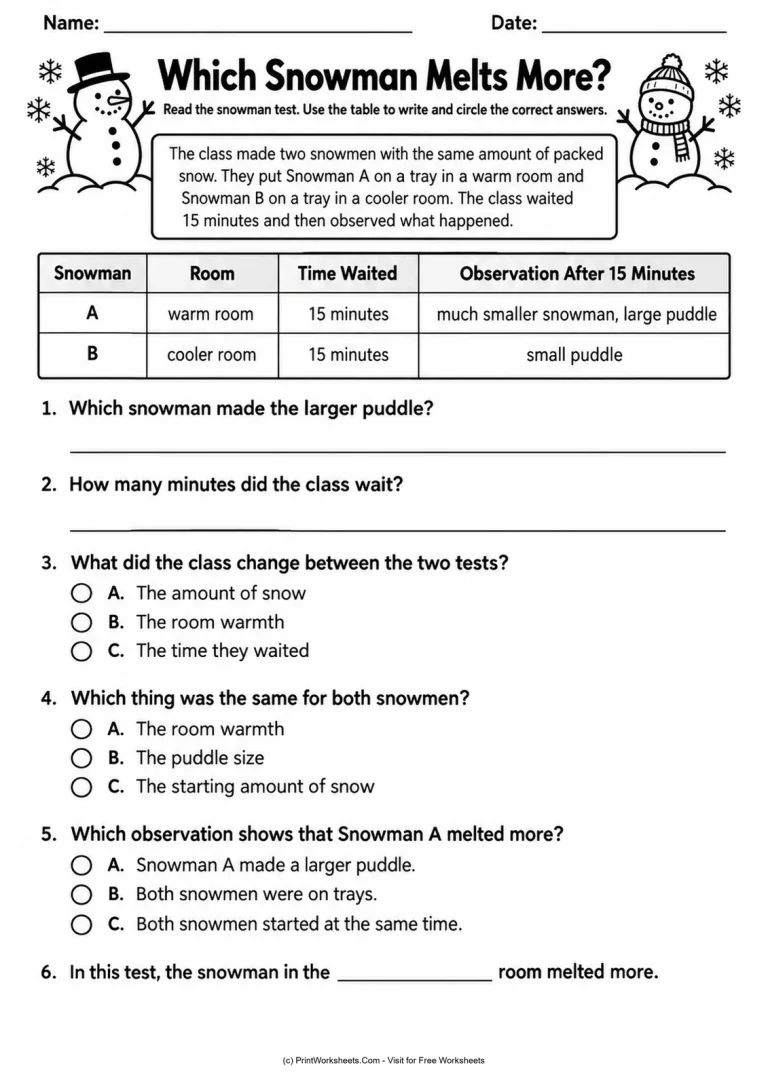
Next, students examine a classroom test involving Snowman A and Snowman B. Both start with the same amount of packed snow and remain on trays for 15 minutes. Snowman A is placed in a warm room, while Snowman B stays in a cooler room. Afterward, Snowman A is much smaller and has produced a large puddle. Snowman B has produced a small puddle.
The observation table provides the evidence needed for six questions. Children identify which snowman made the larger puddle, recall the waiting time, recognize room warmth as the changed condition, and determine what stayed the same. They also choose the observation that supports the conclusion that Snowman A melted more and complete a sentence about the warmer room.
This activity introduces an essential idea in elementary investigations: comparisons become more meaningful when students know which condition changed and which conditions remained consistent.
3. My Melting Snowman Lab: Investigate and Record
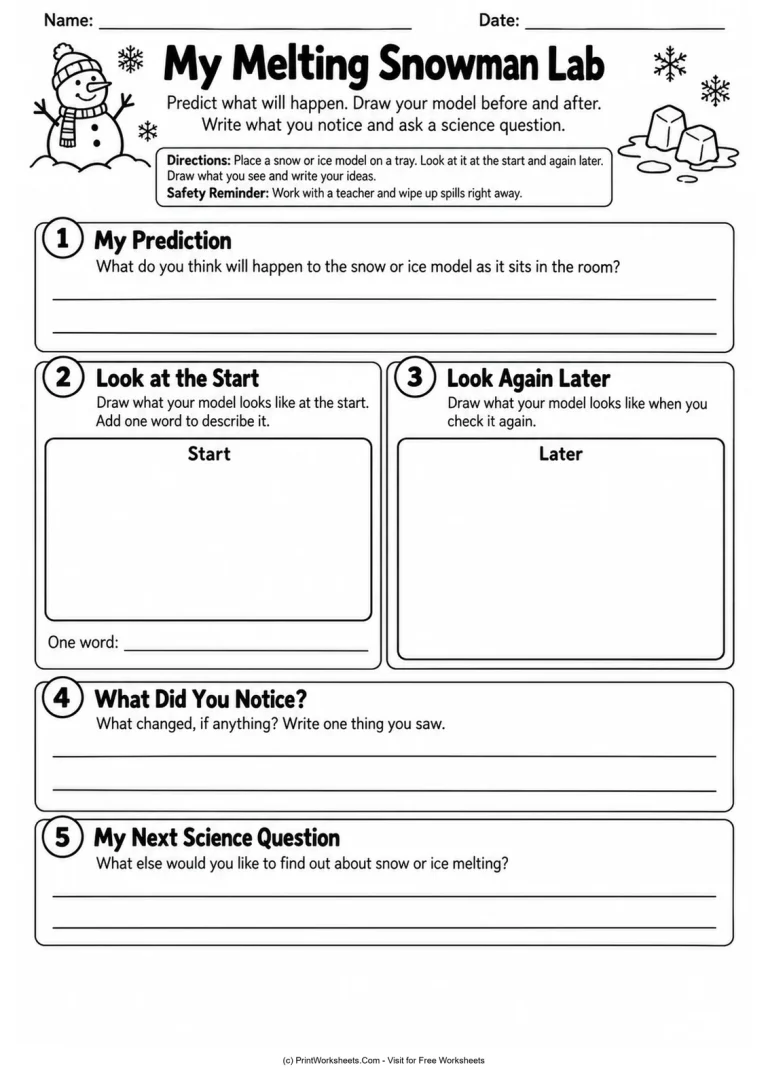
The third worksheet invites students to work with an actual snow or ice model on a tray. Instead of only reading about an investigation, they follow five stages of scientific inquiry. First, they predict what might happen as the model sits in the room. Next, they draw its starting appearance and add a descriptive word. They then draw what the model looks like when they check it again.
Two writing sections encourage students to describe one change they noticed and ask a new question about snow or ice melting. The worksheet includes a reminder to work with a teacher and clean up spills promptly. Large drawing areas and short written responses make the investigation accessible to developing writers.
Understanding Melting and States of Matter
Snow and ice are forms of solid water. When enough heat is transferred to them, they can melt and become liquid water. The snowman’s shrinking shape and the growing puddle offer visible evidence of this change. Students do not need advanced scientific terminology to recognize the relationship between a warming environment and melting.
The warm-room comparison also helps children distinguish an observation from an explanation. A large puddle is something the class observes; greater melting in the warmer room is a conclusion supported by the experiment’s results. Encourage students to refer to the table when explaining their answers rather than simply guessing what happens in warm weather.
How to Teach This Three-Page Science Lesson
Begin with the sequencing worksheet before introducing the comparison table. Ask students what they expect to see when a snowman moves indoors. After they complete the event order, discuss how melting differs from freezing and why water can exist as either a solid or a liquid.
Use the second page as a shared reading or independent science activity. Read the experiment description, identify the two room conditions, and examine the 15-minute observations. Have children explain why equal starting amounts of snow matter when comparing the results.
For the final investigation, prepare a tray and a small snow or ice model with teacher supervision. Give students time to draw the starting condition before waiting and checking again. The exact melting time can vary with the room and materials, so encourage children to record what they actually see rather than copying the example from the earlier worksheet.
Questions That Extend the Investigation
After the lab, ask children whether their prediction matched their observation. What happened to the shape of the snow or ice? Where did the liquid water come from? How could they test whether a model would melt differently in a cooler location? These questions encourage students to use evidence, think about experimental conditions, and propose further investigations.
Students who need writing support can explain their drawings orally before completing the response lines. More confident students can describe how the observations relate to the solid-to-liquid change and suggest one condition they would change in another experiment.
Print the Worksheets for Classroom or Home Science
These three black-and-white pages work as a short physical science lesson, winter science center, guided classroom investigation, or home learning activity. The first two worksheets offer structured questions with identifiable answers, while the final page encourages individual predictions and observations. Print the set in sequence to help children move from recognizing melting to gathering evidence of it themselves.